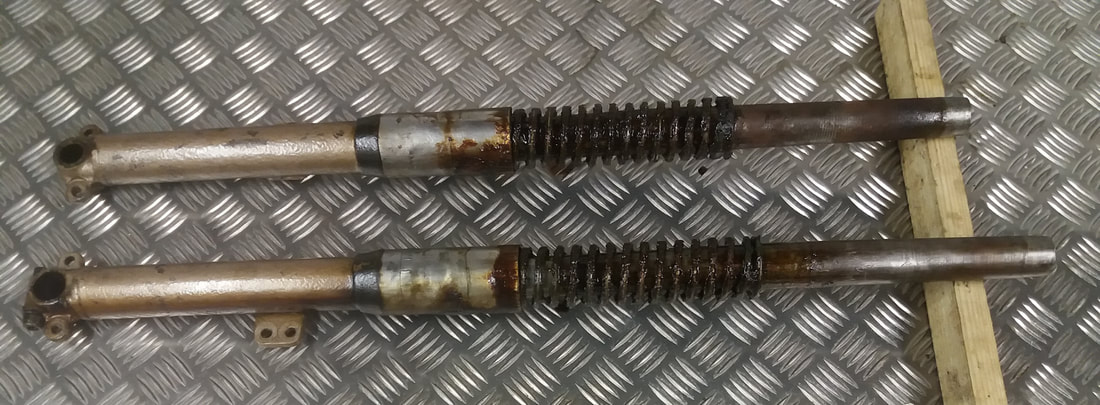
Right then lets crack on with the Ariel Huntmaster forks, these are the telescopic type and like most of the other parts are in a very sorry state. Not sure what I will find in there.
I have had these forks stood upside down with the top nuts off while doing other work on the bike so they are totally empty now, so step one is to totally drain the forks.

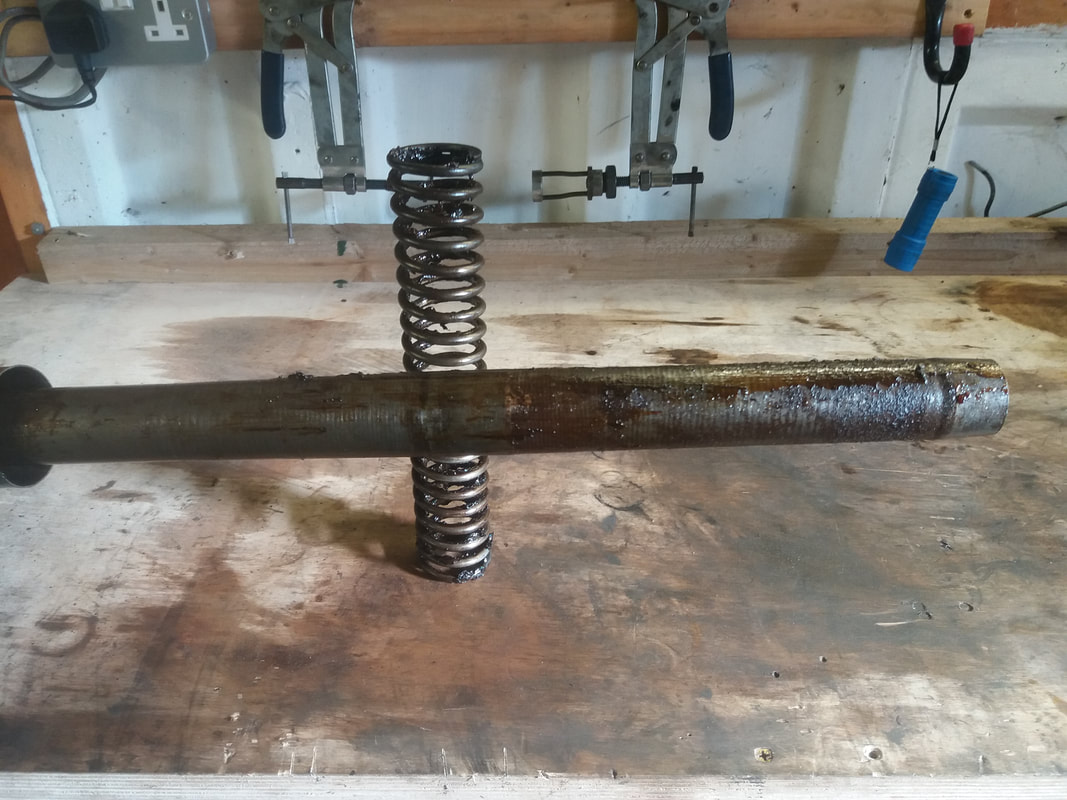
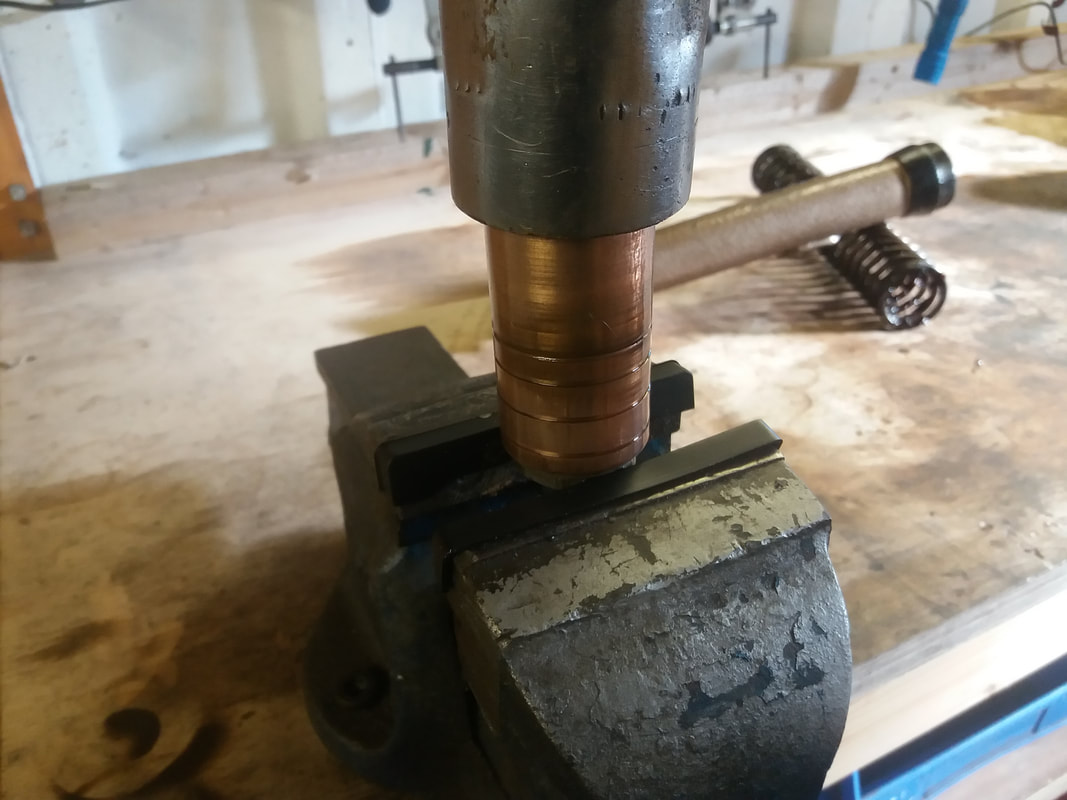
Now I have the fork leg empty and clamped firmly in the vice (using jaw guards to protect the fork) the next thing to do is remove the spring, this just slides off the top of the leg.
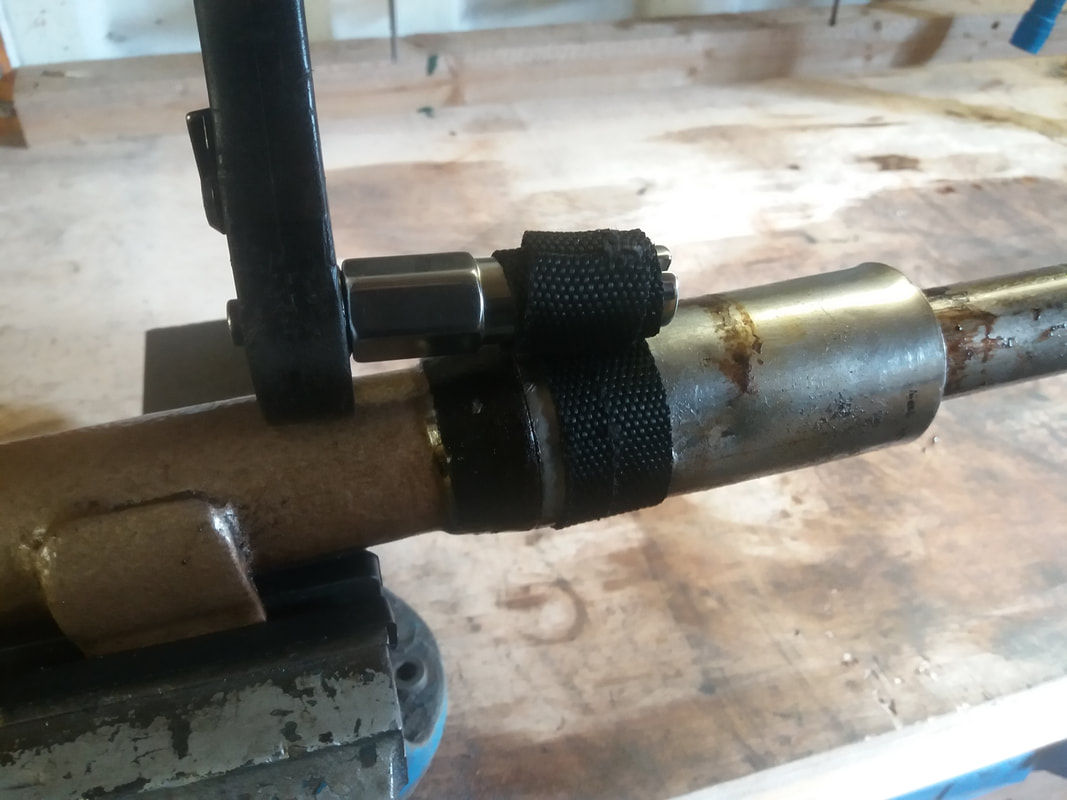
Next on the agenda was the fork seal holder, now these are attached to the fork bottom with a very fine right hand thread so care is needed as these are easily cross threaded.
I prefer to use an oil filter removal tool as it will not mark the chrome, having said that these one's are being replaced but it's good practice anyway. Place the tool near the bottom of the seal holder as this area is the strongest part because the seal retainer and seal are located here. So looking down from the top of the fork it needs to be turned anti clockwise.
I prefer to use an oil filter removal tool as it will not mark the chrome, having said that these one's are being replaced but it's good practice anyway. Place the tool near the bottom of the seal holder as this area is the strongest part because the seal retainer and seal are located here. So looking down from the top of the fork it needs to be turned anti clockwise.
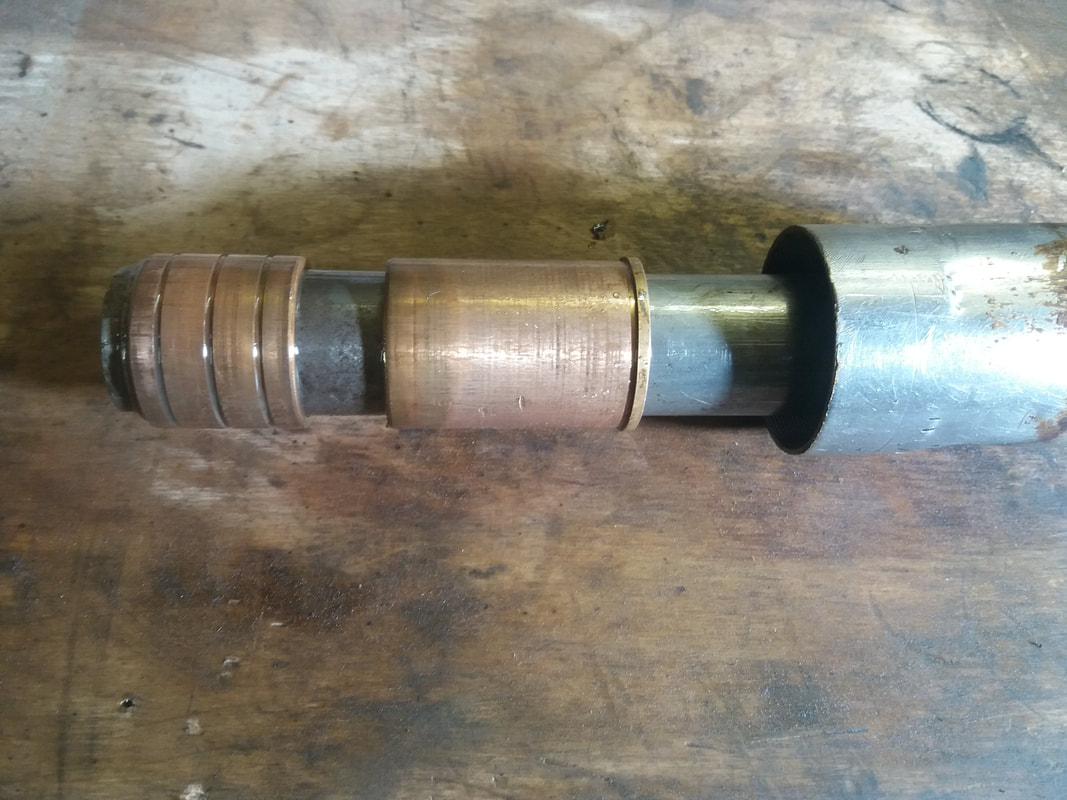
Now I have the seal holder unscrewed I just leave it on the fork tube for now because the taper of the fork tube will not allow it to be removed from the top so it must be taken of from the bottom of the tube.
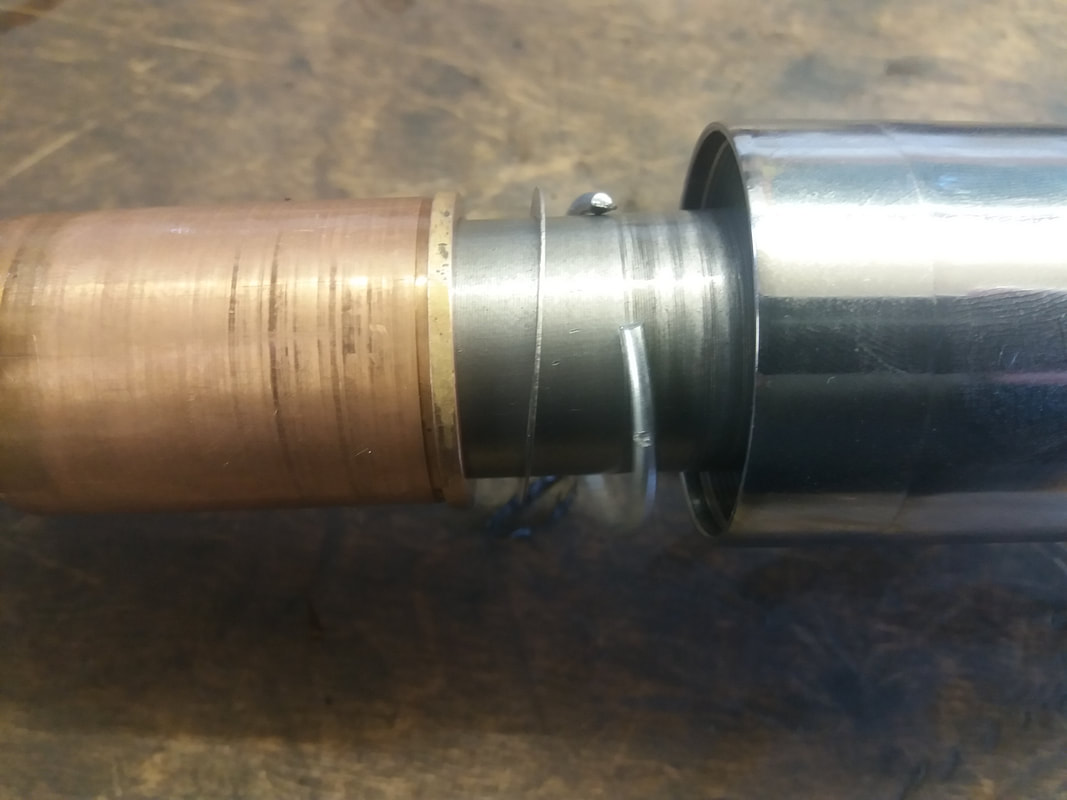
The fork tube is wider where it clamps to the bottom yoke, not sure if you can see it that well in the picture?
The fork tube is wider where it clamps to the bottom yoke, not sure if you can see it that well in the picture?

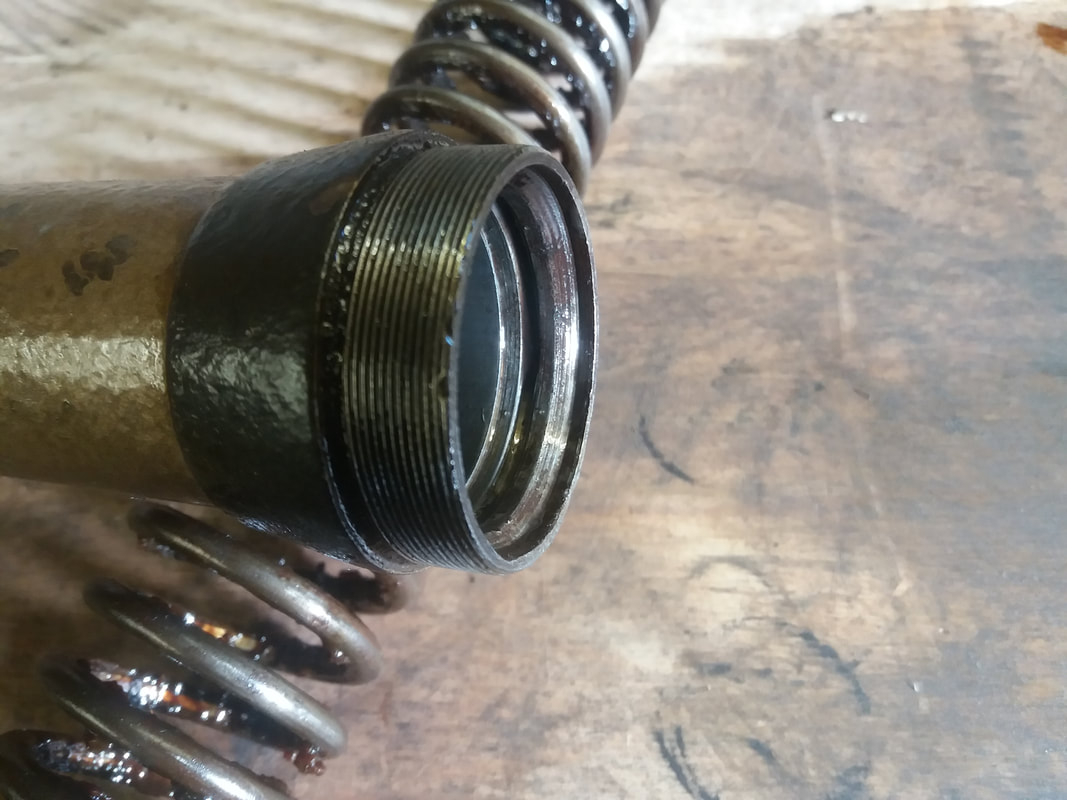
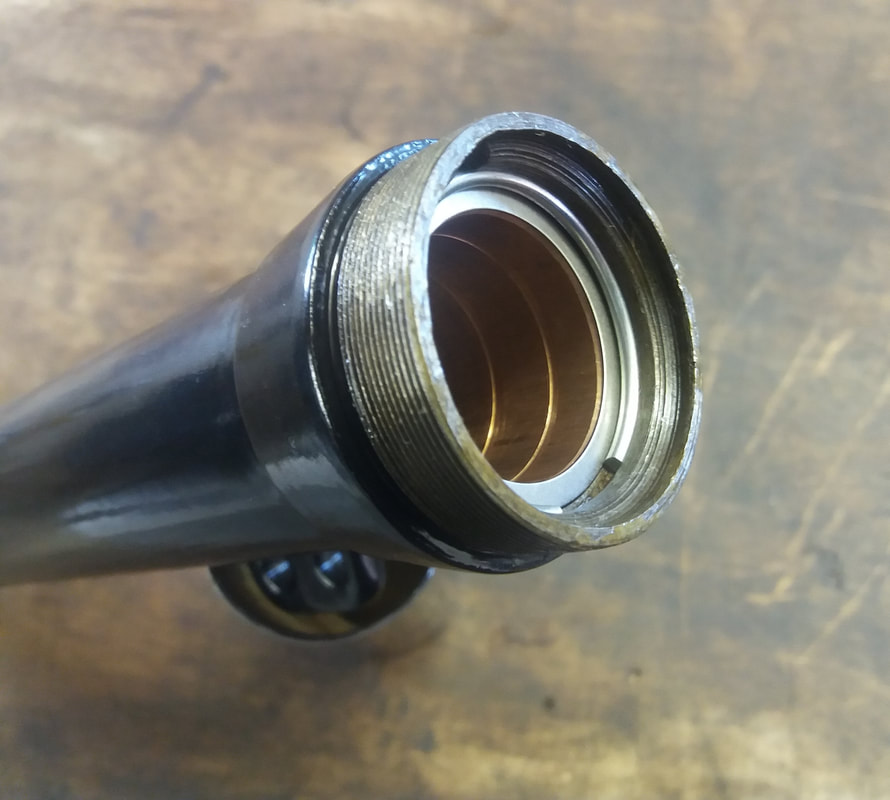
Now to remove the fork bush retaining ring and shims, these are the first line of defense when it comes to keeping the fork tube firmly and safely held into the fork bottom.
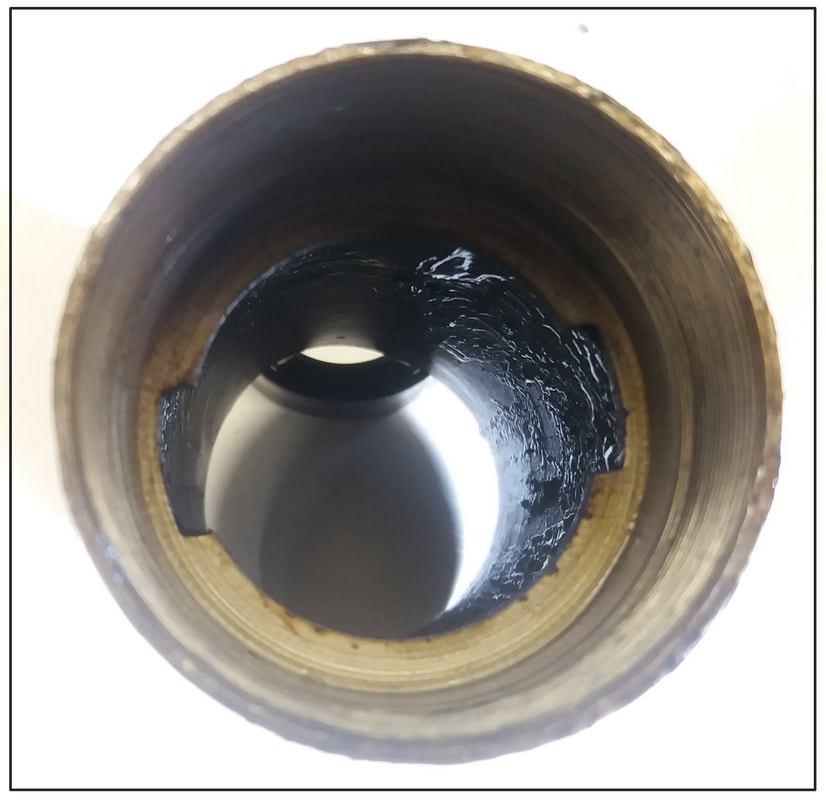
"Holy crap Batman there isn't any!"... so the only thing keeping the fork tube in the fork bottom was the thin plate that retains the seal, and the top bush would of been bouncing around like a box of frogs on jumping pill's.
"Holy crap Batman there isn't any!"... so the only thing keeping the fork tube in the fork bottom was the thin plate that retains the seal, and the top bush would of been bouncing around like a box of frogs on jumping pill's.
So now the fork tube and bushes have fallen out we need to just remove the large nut from the bottom of the fork tube and hey presto the bushes and seal holder can finally be taken off.
There are two handy recesses inside the oil seal retainer, you can use these to gently tap the seal out.
There are two handy recesses inside the oil seal retainer, you can use these to gently tap the seal out.
|
|
|
ARIEL HUNTMASTER FORKS RE-BUILD
Right then, now I have all I need to re-build the forks so let's get it done. I have had the fork bottoms powder coated gloss black and the part's I masked off were the top thread for the seal holder, the drain plug thread and the spindle housing.
My first job was to clean everything prior to building and just run a bit of fine emery paper around the very bottom of the raw steel fork tubes just in case of any burrs, I don't want the seal getting damaged when I slide it on.
Second job was to do the top bush shims (Part No; H73-46), so with the fork bottom held firmly in the vice I inserted the top bush and then the circlip (Part No; H15-46) and there was a slight gap between them (put your finger in and try to move the bush up & down) so I needed to shim this up. Now this took me two attempts on each fork but it is well worth doing. Now take it all out again and put it on the fork leg after fitting the seal in the holder and putting that on the leg first (from the bottom).
Now I had my fork bottom in the vice, my fork tube with the seal in the holder, circlip, shim, top bush, bottom bush and bottom nut and washer tight. I gave everything another coating of fork oil and inserted the whole thing into the fork bottom clicking the circlip into place and then applying a smidge of grease to the seal holder (Part No; H56-46) threads I screwed that on being very careful not to mark the chrome, finally slide on the spring...Happy days, have another cup of tea.
|
|
|
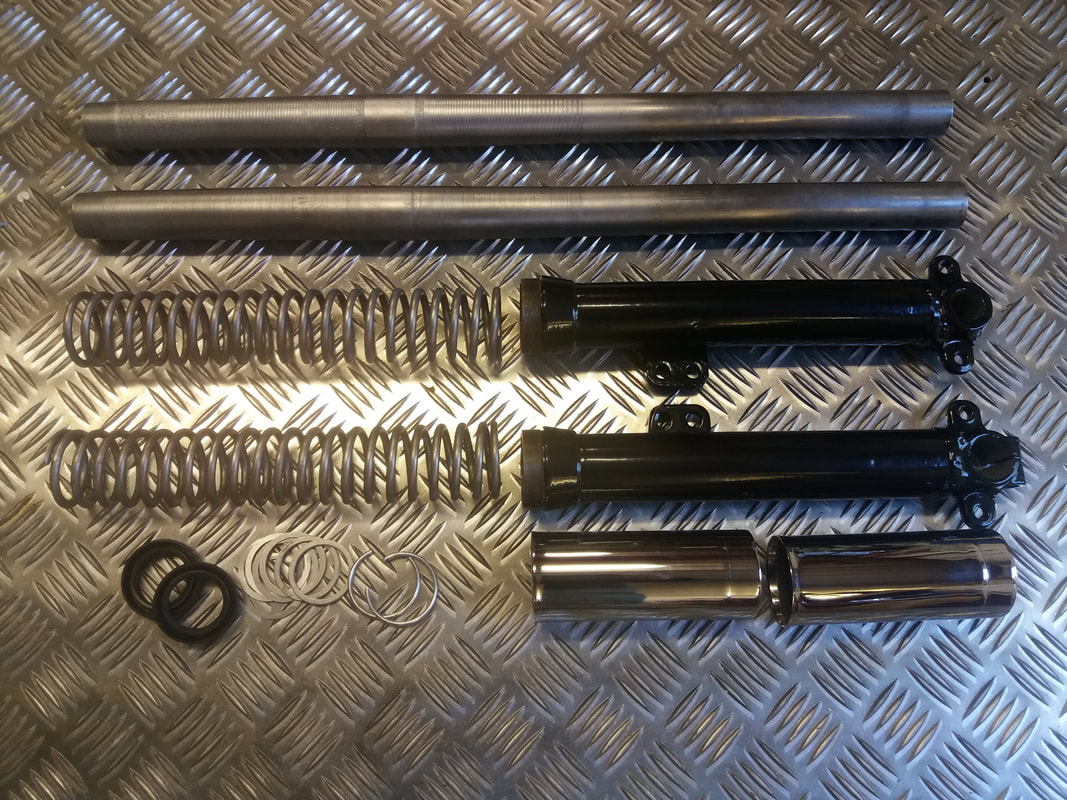
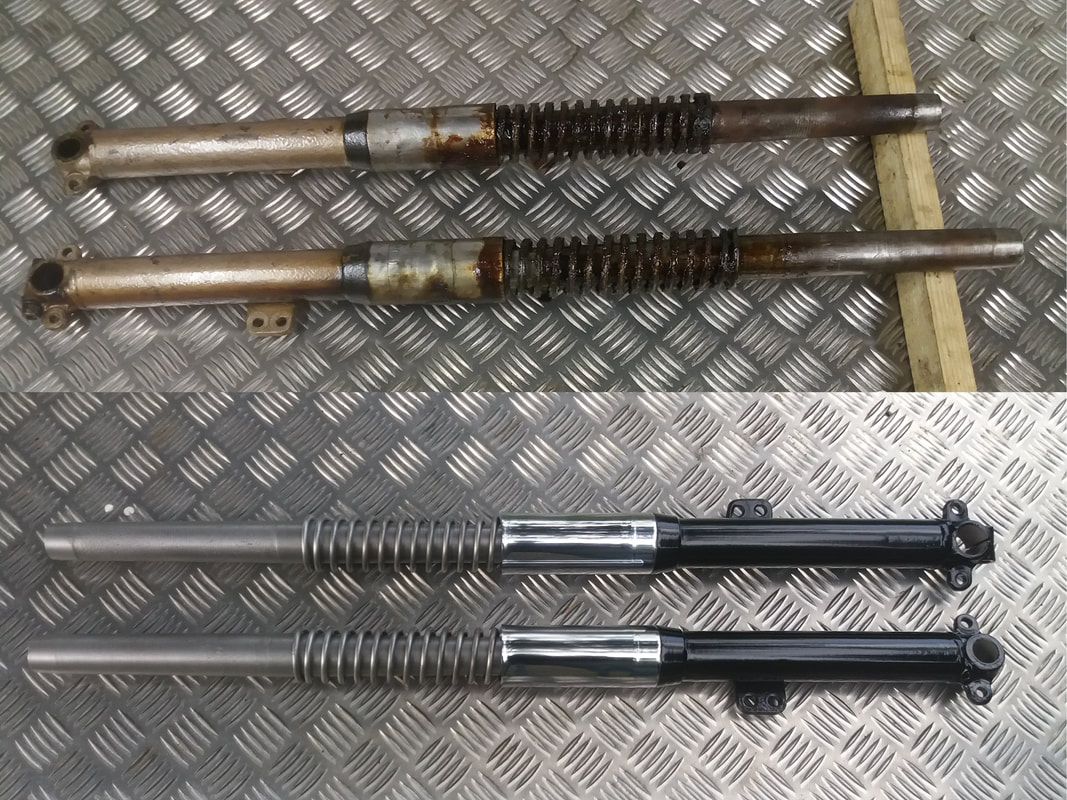
A before and after picture, I think you will agree they now look a whole lot better.
Stay Tuned.
